
If you’ve never gone through a structured cabling project before, it’s completely normal to not know what the process looks like. From the outside, it can seem simple—but a professional installation involves much more than just running cable.
Step 1: Planning and Design
Every successful project starts with a clear plan.
This includes:
- A site walk to understand the space
- Conversations about how your team uses the building
- Mapping out device locations, pathways, and telecom areas
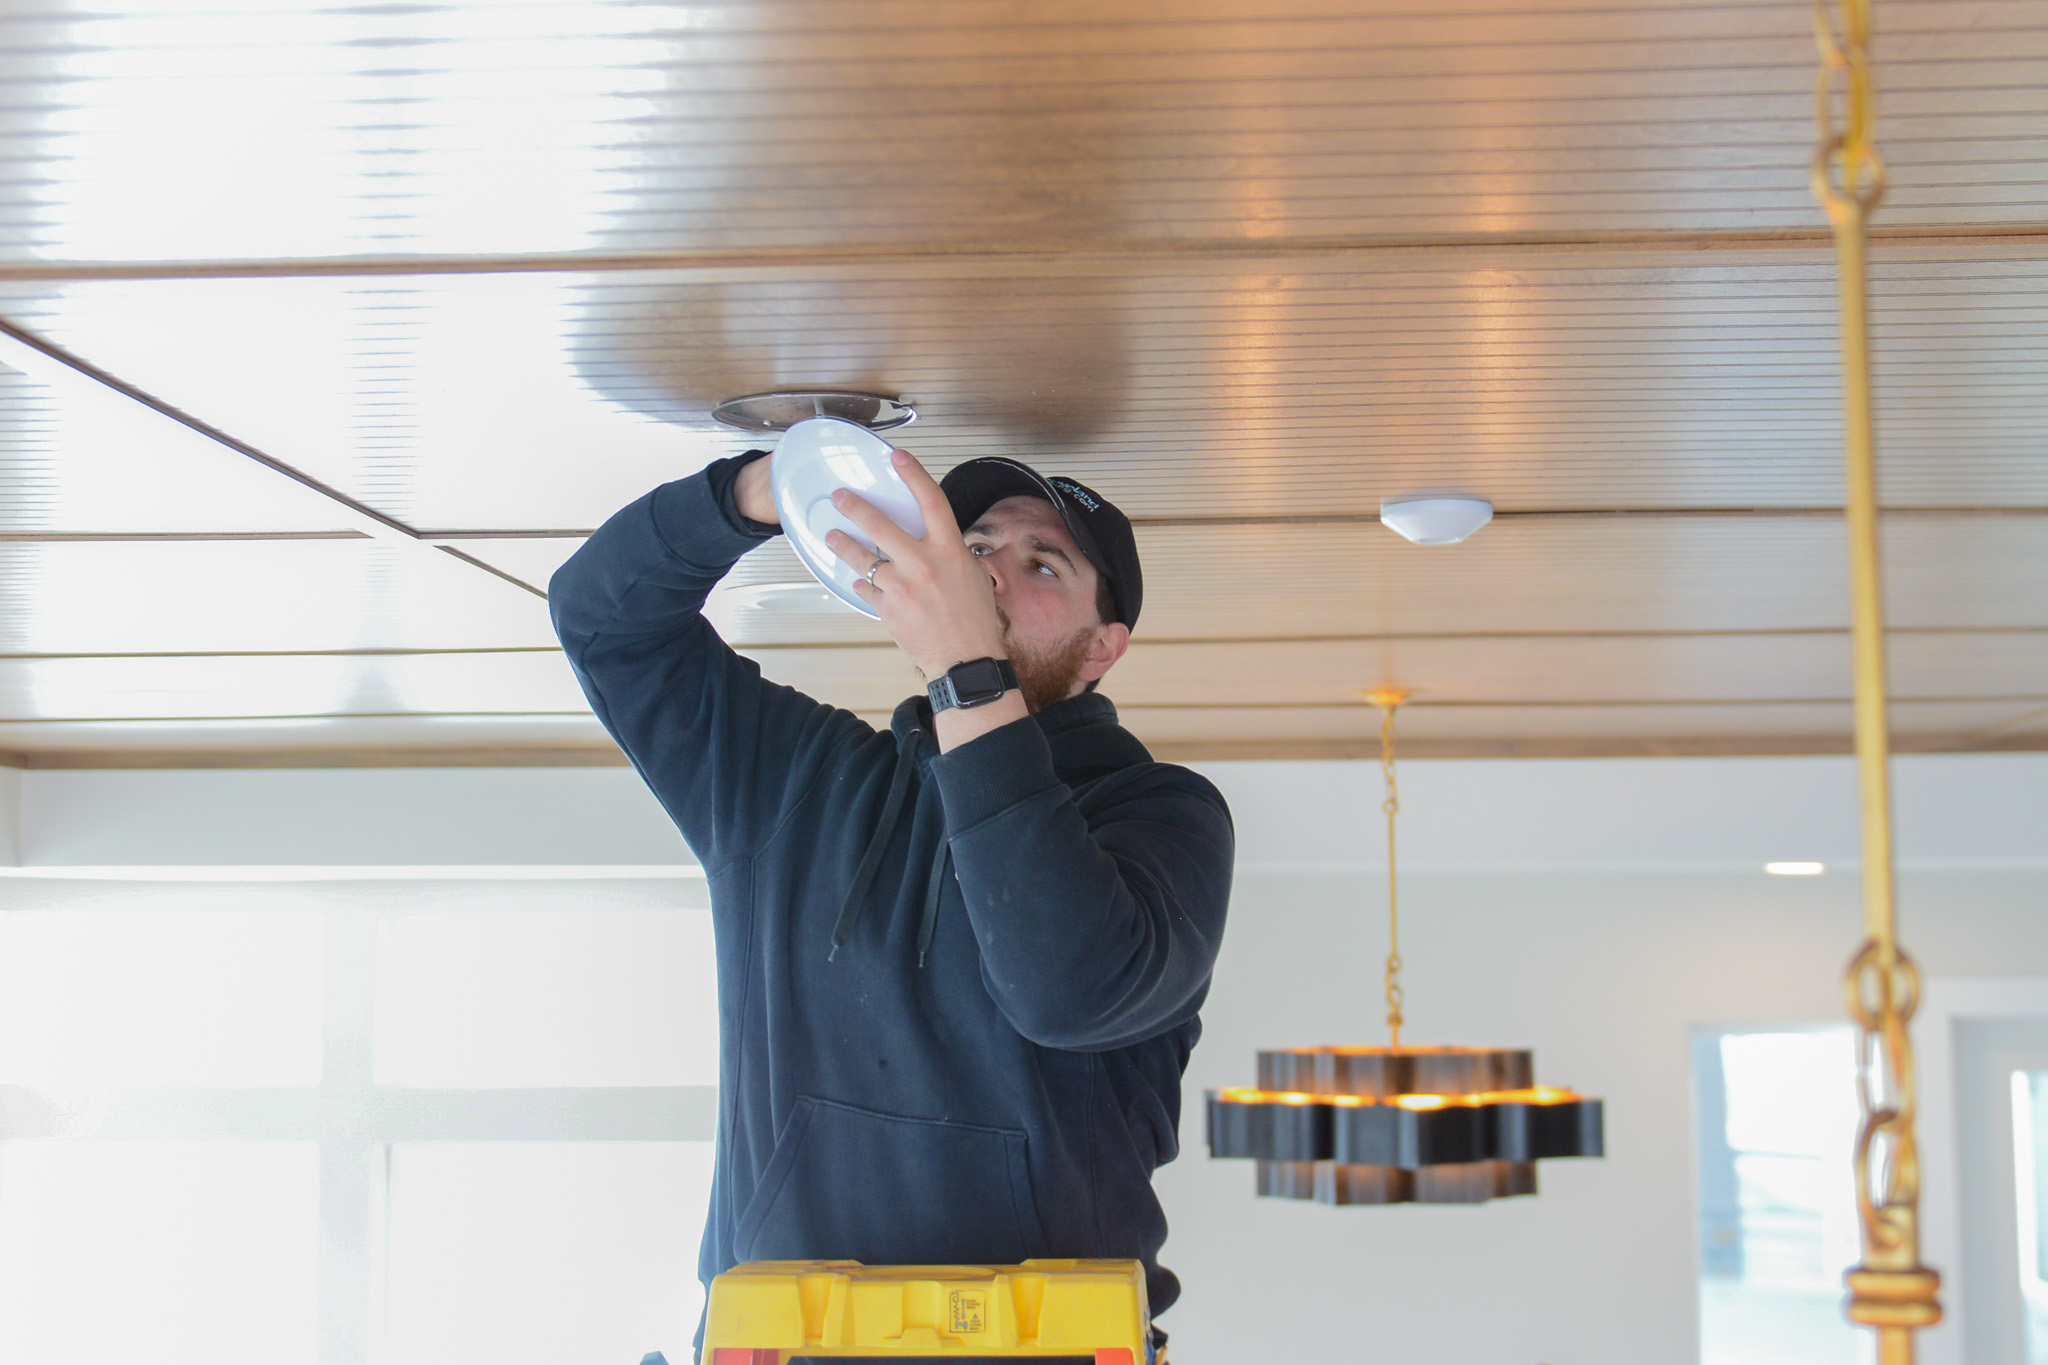
Step 2: Installation
Once the design is finalized, installation begins. Cabling is routed through ceilings, walls, and conduit in a way that keeps everything clean and organized. A professional team will focus on consistency, proper routing, and long-term accessibility.
You should expect:
- Clean cable pathways
- Organized racks and panels
- Clearly labeled connections
- Minimal disruption to your operations
Step 3: Testing and Certification
After installation, every connection should be tested. This ensures:
- Proper signal performance
- Compliance with industry standards
- No hidden issues that could cause problems later
Skipping this step is one of the biggest mistakes in low-quality installations.
Step 4: Documentation
Finally, documentation is provided so your team knows exactly how the system is structured. This makes troubleshooting easier, future upgrades more efficient, and day-to-day management simpler. A professional cabling project should feel organized from start to finish. When done right, it creates a system that performs reliably and requires less maintenance over time.